Keeping your pipes insulated is more than just a maintenance task—it’s a smart way to save energy, prevent damage, and even reduce noise in your home. Whether you’re tackling a DIY project or upgrading your plumbing system, knowing how to install pipe insulation correctly can make a significant difference in comfort and efficiency.
In questa guida, we’ll walk you through each step, explain best practices, and show how using materials like Rockwool soundproof insulation can enhance both thermal and acoustic performance.
Why Pipe Insulation Is Essential
1. Risparmio energetico
- Insulating your pipes prevents heat from escaping, which reduces the energy needed to heat water.
- Proper insulation can lower utility bills, especially in colder months when hot water usage spikes.
- Both hot and cold water pipes benefit from insulation to maintain consistent temperatures.
2. Freeze Protection
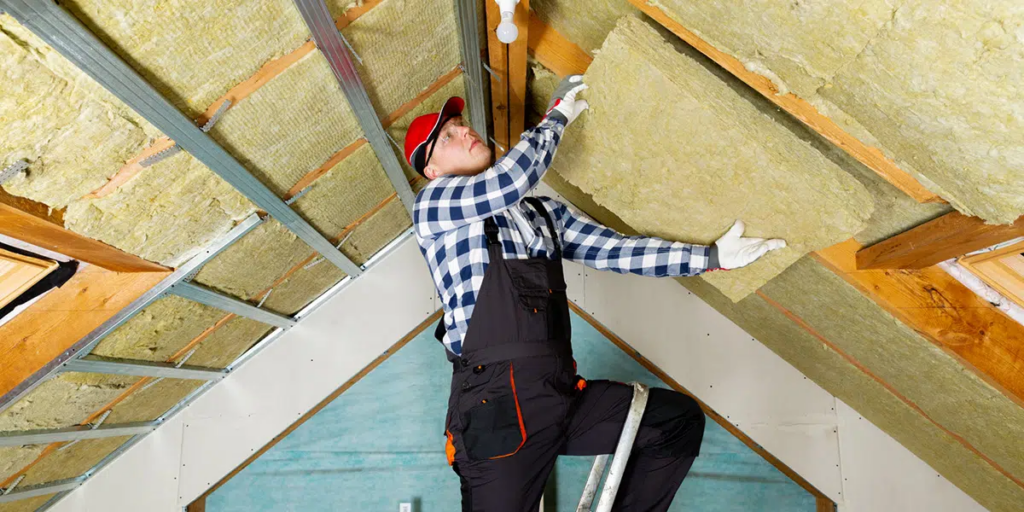
- Pipes in unheated spaces, like basements or attics, are prone to freezing.
- Frozen pipes can burst, causing costly repairs and water damage.
- Insulation acts as a protective layer, keeping water flowing even in freezing temperatures.
3. Riduzione del rumore
- Running water can create vibrations and sounds in pipes.
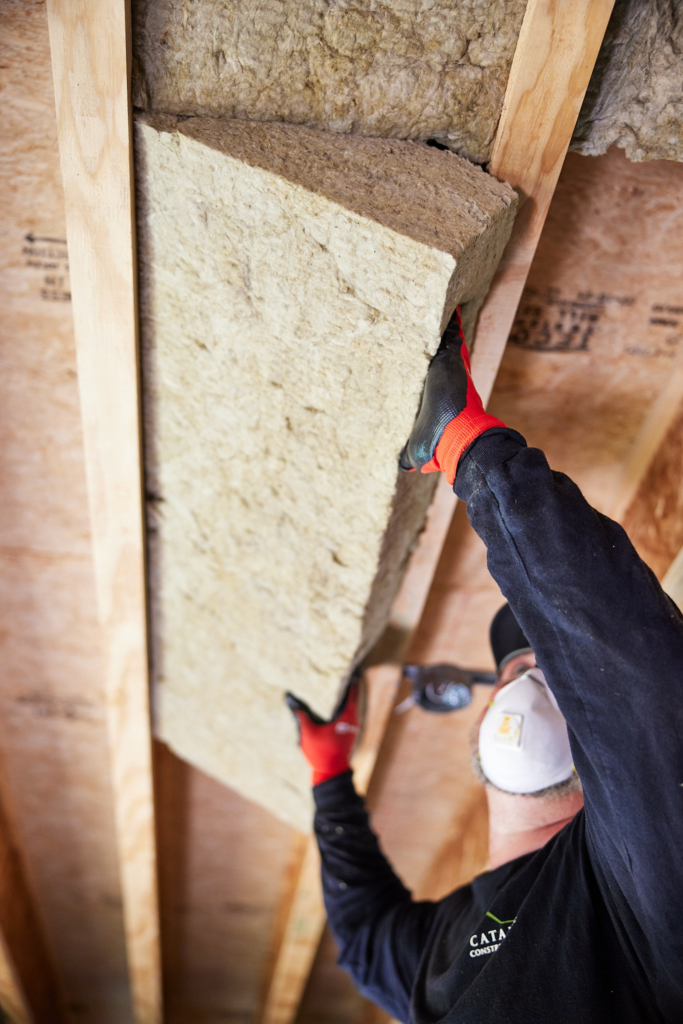
- Using Rockwool insulation for soundproofing absorbs noise effectively.
- Ideal for multi-story homes or areas where quiet is essential, like bedrooms or offices.
4. Long-Term Durability
- Insulated pipes reduce condensation, preventing corrosion and mold growth.
- Properly installed insulation helps pipes last longer and minimizes maintenance.
- A good investment upfront saves time and money in the future.
Tools and Materials Needed
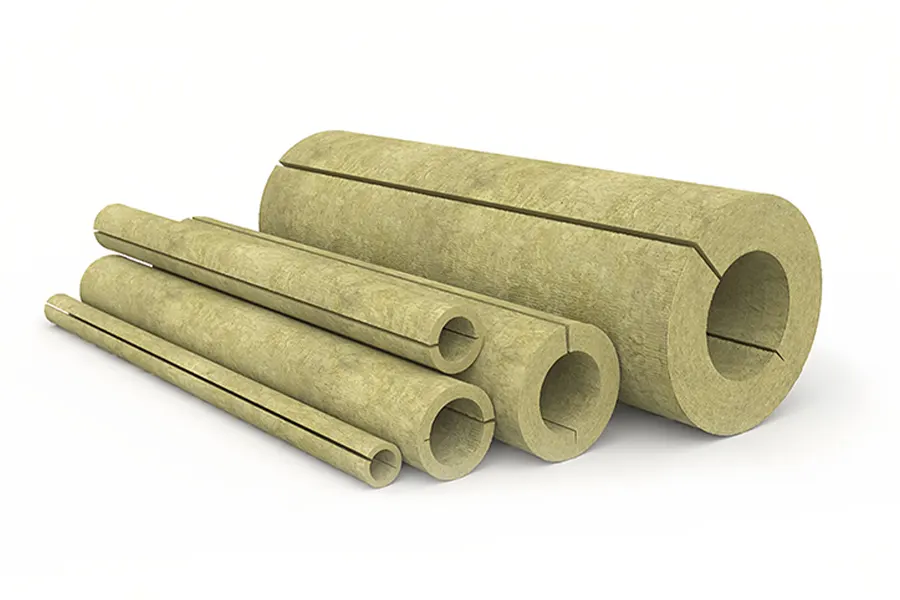
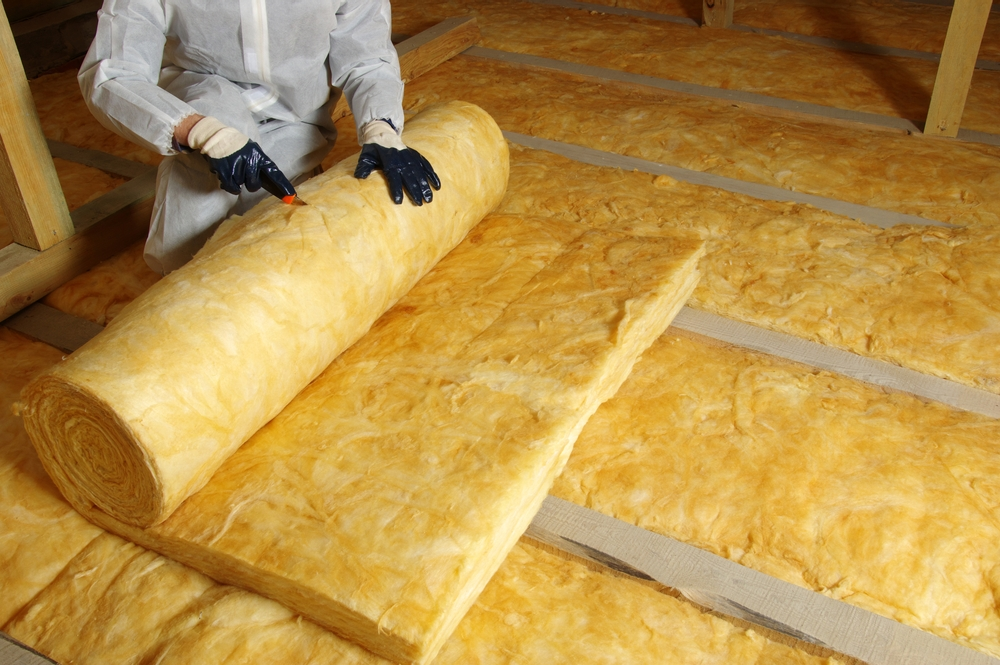
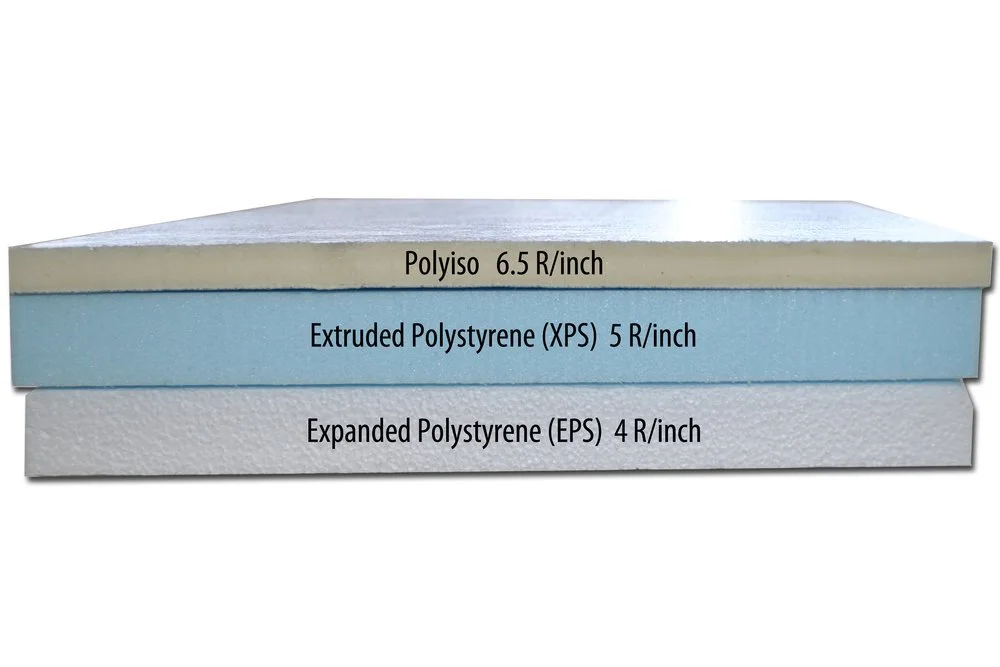
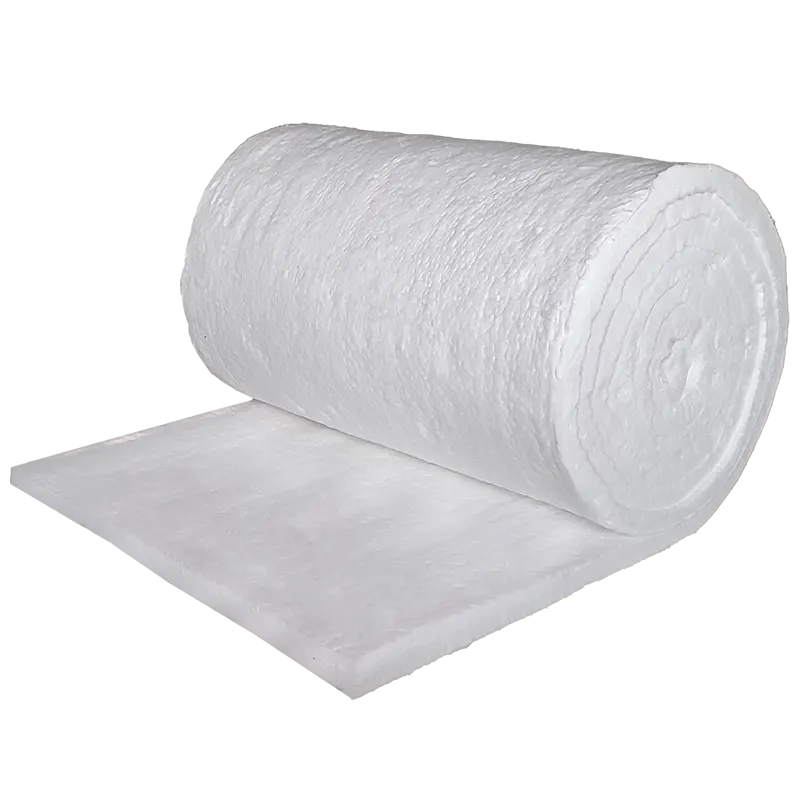
- Pipe insulation: foam, fibra di vetro, or Rockwool soundproof insulation
- Measuring tape for accurate cuts
- Utility knife or scissors for precision
- Zip ties, duct tape, or insulation adhesive
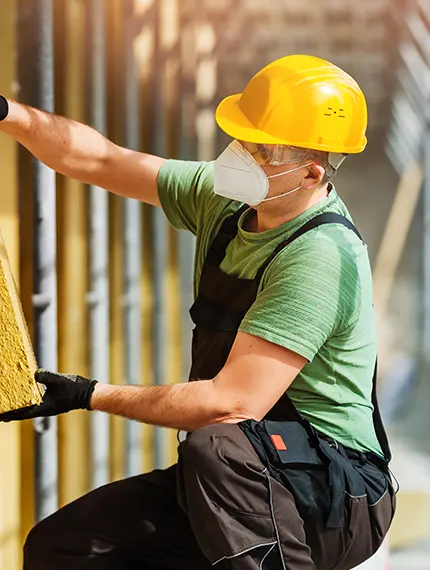
- Gloves and protective gear, especially when handling Rockwool
- Optional: markers to label hot and cold pipes
| Fare un passo | Action | Key Points / Suggerimenti |
| 1. Measure Your Pipes | Measure length and diameter of each pipe section | – Note bends, valves, tees for custom cuts- Choose right thickness for energy savings & riduzione del rumore |
| 2. Prepare the Insulation | Cut insulation pieces to length | – Ensure clean, straight edges- Indossare guanti & mask for Rockwool- Check flexibility for smooth wrapping |
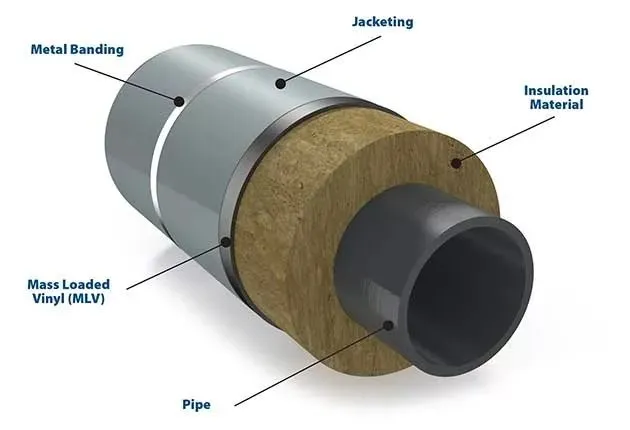
| 3. Insulate Straight Sections | Wrap foam or Rockwool around pipe | – Cover pipe completely- Seal seams with tape or adhesive for heat & noise control |
| 4. Insulate Bends, Valves & Fittings | Fit smaller sections around elbows/tees | – Use flexible insulation for curves- Join pieces carefully, avoid gaps |
| 5. Secure the Insulation | Fix insulation in place | – Use zip ties or tape without compressing- Avoid overly tight binding- Inspect all sections for full coverage |
Step-by-Step Installation Guide
Fare un passo 1: Measure Your Pipes
- Accurately measure the length and diameter of each pipe section.
- Note bends, valves, and tees where insulation may require custom cuts.
- Choosing the right thickness ensures maximum energy savings and noise reduction.
Fare un passo 2: Prepare the Insulation
- Cut insulation pieces to the measured length, ensuring clean, straight edges.
- Per Rockwool soundproof insulation, wear gloves and a mask to avoid irritation.
- Check that the insulation is flexible enough to wrap smoothly around the pipe without gaps.
Fare un passo 3: Insulate Straight Sections
- Open foam insulation slits or wrap Rockwool batts around the pipe.
- Make sure the insulation completely covers the pipe, leaving no exposed areas.
- Seal all seams with tape or adhesive to maintain heat retention and noise control.
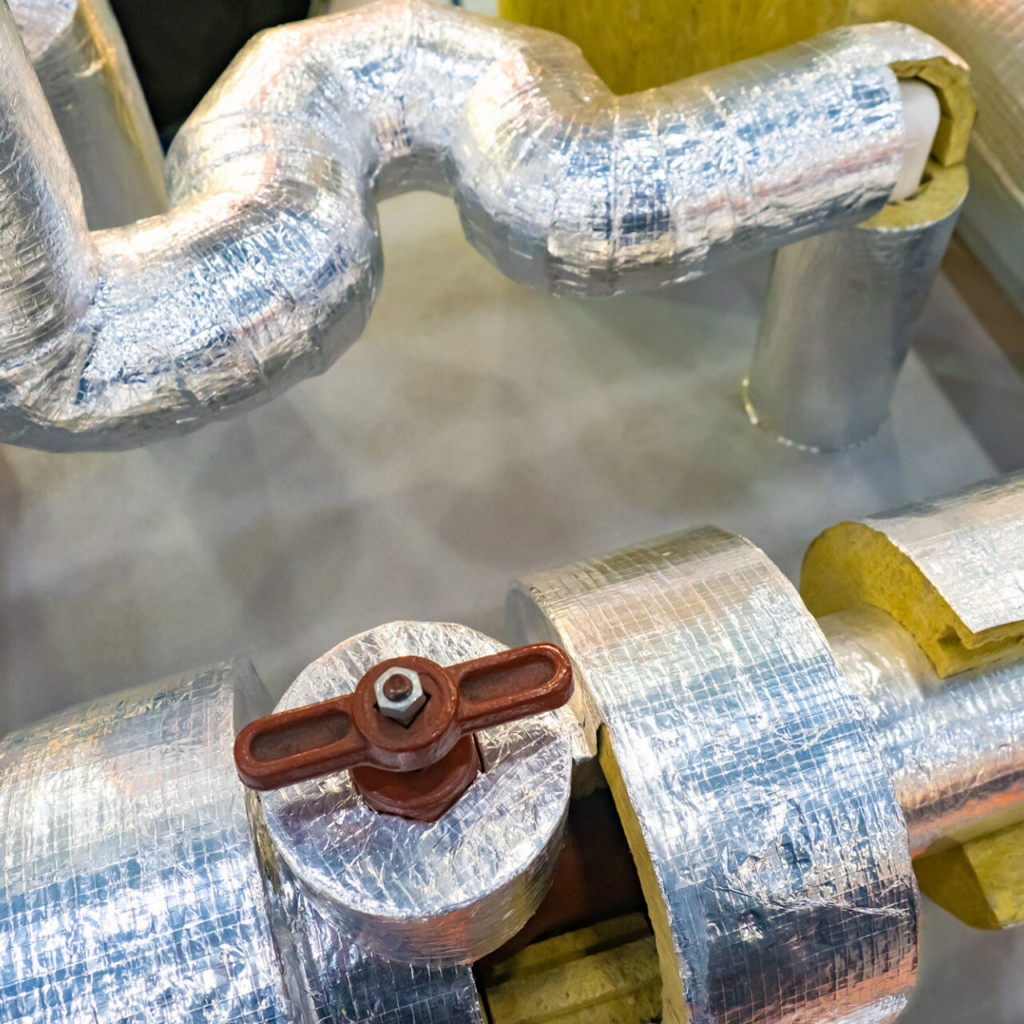
Fare un passo 4: Insulate Bends, Valves, and Fittings
- Cut smaller insulation sections to fit around elbows, tees, and valves.
- Flexible insulation works best for curves and irregular shapes.
- Join pieces carefully to ensure no gaps remain, which could compromise thermal and acoustic efficiency.
Fare un passo 5: Secure the Insulation
- Use zip ties or tape to hold insulation firmly in place without compressing it.
- Avoid overly tight binding, especially with Rockwool insulation for soundproofing, to maintain performance.
- Inspect all sections to confirm full coverage and proper adhesion.
Best Practices for Pipe Insulation
- Always measure and cut precisely to avoid gaps and overlaps.
- Seal all seams and joints to prevent energy loss and reduce sound leakage.
- Use high-density insulation like Rockwool for areas where soundproofing is desired.
- Avoid compressing insulation; this diminishes its thermal and acoustic properties.
- Consider labeling hot and cold water pipes for easier maintenance.
Domande frequenti: Installing Pipe Insulation
What are the best practices for pipe insulation?
- Choose the right type and thickness for your pipe size.
- Seal seams and cover all exposed areas, including bends and valves.
- Use Rockwool soundproof insulation for noise-sensitive areas.
- Inspect periodically to ensure insulation remains intact and effective.
How to install insulation correctly?
- Measure pipes accurately and cut insulation cleanly.
- Wrap or slide insulation carefully over each pipe section.
- Seal and secure with tape or ties, avoiding compression.
- Pay special attention to fittings and bends for full coverage.
- Double-check work to ensure maximum energy efficiency and soundproofing.
Considerazioni finali
Insulating your pipes is a straightforward way to boost energy efficiency, reduce noise, and protect your plumbing system from damage. By following this step-by-step guide and using quality materials like Rockwool soundproof insulation, you can create a home that is warmer, quieter, and more efficient. With proper installation, your pipes will not only perform better but also last longer—making your effort well worth it.
Ready to take your insulation project to the next level? Visita China Thermal Insulation to explore high-quality insulation products, lana di roccia E lana di vetro expert guidance, and solutions tailored for both thermal and soundproofing needs. Start insulating today and enjoy a more comfortable, efficiente dal punto di vista energetico, and quieter home!